Running WordPress on your local computer is the safest way to develop, test, or learn before going live. Instead of experimenting on a live server, you can build everything on your own PC using WampServer.
In this guide, you’ll learn how to:
- Install WampServer on Windows
- Test your local server
- Create a database
- Install WordPress on localhost
- Configure WordPress properly
Why Use WampServer?
WampServer is a Windows-based web development environment that includes:
- Apache (Web Server)
- MySQL (Database)
- PHP (Server-side scripting)
- phpMyAdmin (Database management tool)
It allows you to run dynamic websites like WordPress directly on your computer without needing web hosting.
Using a local server helps you:
- Develop safely without affecting a live website
- Test themes and plugins
- Work offline
- Experiment freely
Step 1: Download and Install WampServer
System Requirement
WampServer now supports 64-bit versions of Windows only.
Before installing, make sure:
- Your Windows version is 64-bit
- You have Microsoft Visual C++ Redistributable packages installed (if prompted)
To check your system type:
- Right-click This PC
- Click Properties
- Look under System Type
If your PC is 32-bit, WampServer will not install. In that case, you may need to upgrade Windows or consider alternatives like XAMPP.
Installation Steps:
- Run the installer
- Accept the license agreement
- Keep the default installation path
C:\wamp64\ (64-bit) - Select your preferred browser when prompted
- Finish installation
After installation, start WampServer.
If the system tray icon turns green, everything is working correctly.
Open your browser and type:
You should see the WampServer homepage.
Step 2: Download WordPress
Download the latest version of WordPress from the official WordPress website.
After downloading:
- Go to your Wamp installation directory
C:\wamp64\www\ - Create a new folder (for example: wp_site)
- Extract the WordPress files inside that folder
Your structure should look like:
C:\wamp64\www\wp_site\
Step 3: Create a Database for WordPress
WordPress requires a database to store content and settings.
Steps:
- Open your browser
- Visit: http://localhost
- Click on phpMyAdmin
- Login using:
- Username:
root - Password: (leave blank unless you set one)
- Username:
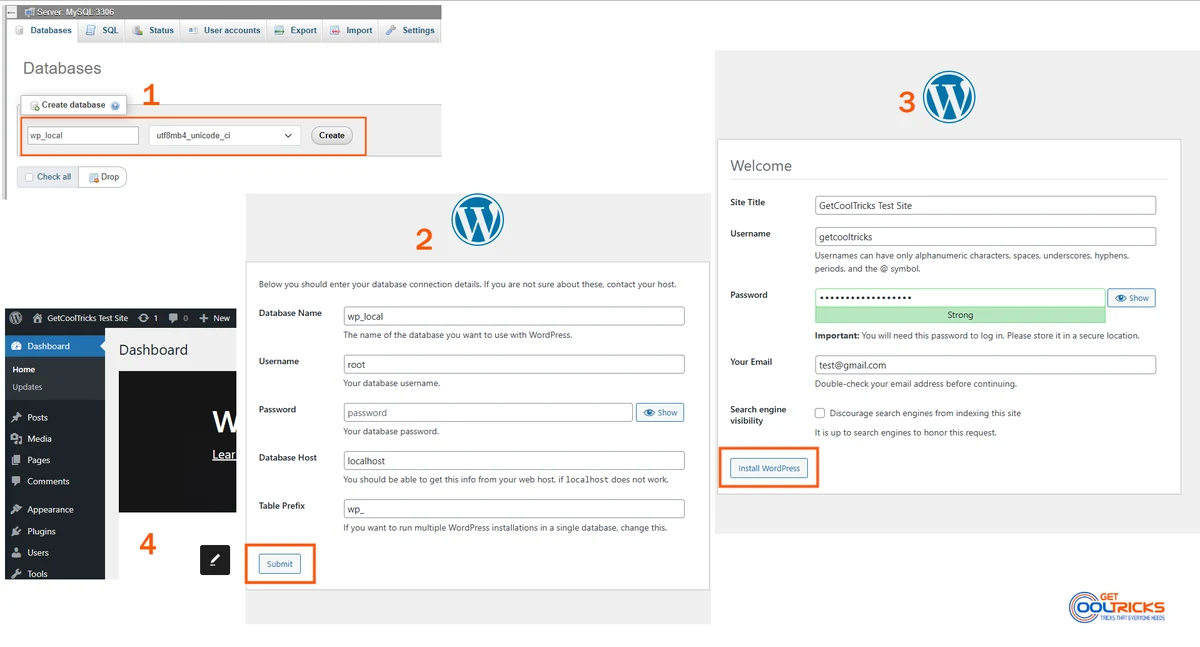
Create a Database:
- Click the Databases tab
- Enter a database name (example: wp_local)
- Select a collation such as
utf8mb4_unicode_ci(recommended). - Click Create
Your database is now ready.
Step 4: Install WordPress on WampServer
Now install WordPress.
Open your browser and enter:
http://localhost/wp_site/wp-admin/install.php
(Replace “wp_site” with your folder name.)
Installation Steps:
- Select your language
- Click Let’s Go
- Enter database details:
- Database Name
- Username (root)
- Password (leave blank if not set)
- Database Host: localhost
- Table Prefix (optional)
- Click Submit
- Click Run Installation
Now enter:
- Site Title
- Admin Username
- Password
- Email Address
Click Install WordPress.
Once complete, you will be redirected to the WordPress dashboard.
Step 5: Configure WordPress (Recommended Settings)
After logging in:
Change Permalink Structure
Go to: Settings → Permalinks
Select: Post Name
This creates SEO-friendly URLs.
What You Can Do After Installation
Once WordPress is running locally, you can:
- Install and test themes
- Install plugins
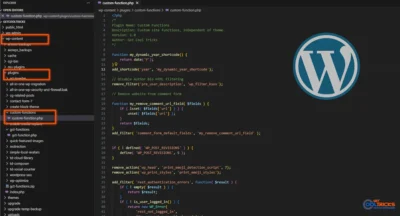
- Develop custom code
- Build an entire website offline
- Practice WordPress safely
When your site is ready, you can migrate it to your live hosting server.
Troubleshooting Tips
If WampServer icon is not green:
- Restart all services from the Wamp menu
- Check if Skype or another application is using port 80
- Restart your computer
If WordPress cannot connect to the database:
- Verify database name
- Confirm username and password
- Ensure MySQL service is running
Final Thoughts
Installing WordPress on WampServer is one of the best ways to learn and develop safely on Windows. By using a local environment, you avoid risks to live websites and gain full control over testing and development.
Whether you are a beginner learning WordPress or a developer building complex projects, a localhost setup is an essential tool.