
Your old Printer or other computer peripherals may require drivers to connect to a computer. If the drivers are signed you can install them easily on all version of Windows PC. But in the newer version of windows starting from Windows 8, driver signature verification is enabled by default and the drivers should be digitally signed for the installation to occur. Here are the simple steps to disable signature verification and install unsigned drivers on the Windows Operating System. If you are installing drivers for legacy hardware devices, read our tutorial on Adding Legacy Hardware device to Windows PC.
How to Install Unsigned drivers in Windows 8, 8.1?
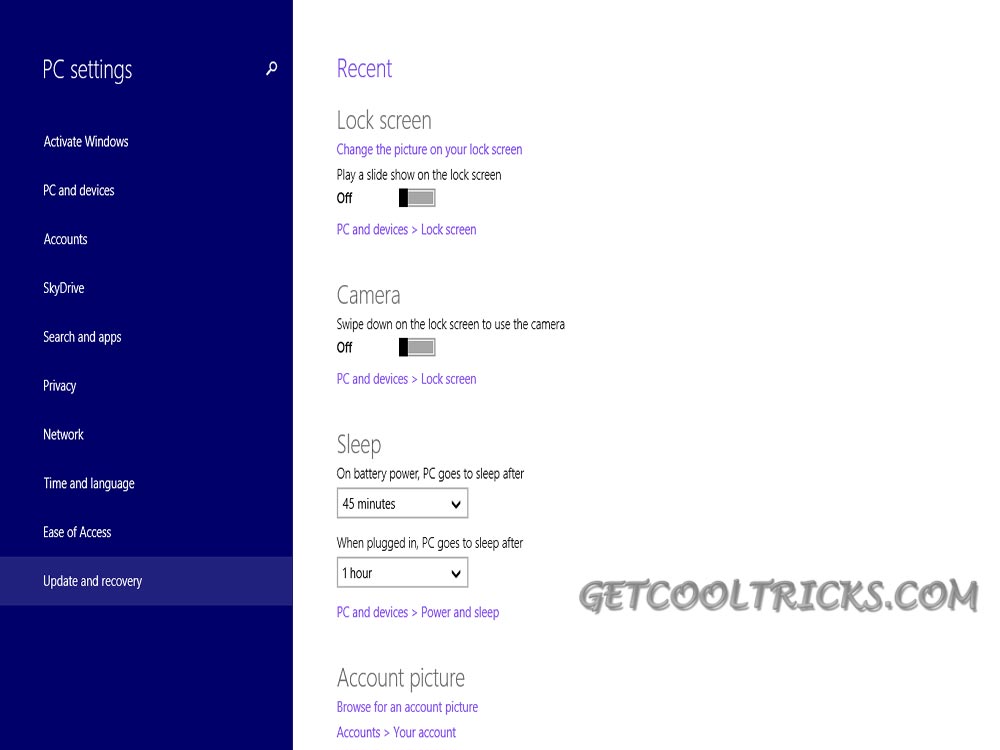
To Install the unsigned drivers you have to boot your Windows 8 Pc into Advanced Startup mode. Access the advanced startup menu from the Settings by dragging your mouse toward the right side corners of the screen and tap Change PC Settings. The location of the Advanced Startup menu inside the settings window is,
Windows 8: General – Advanced Startup
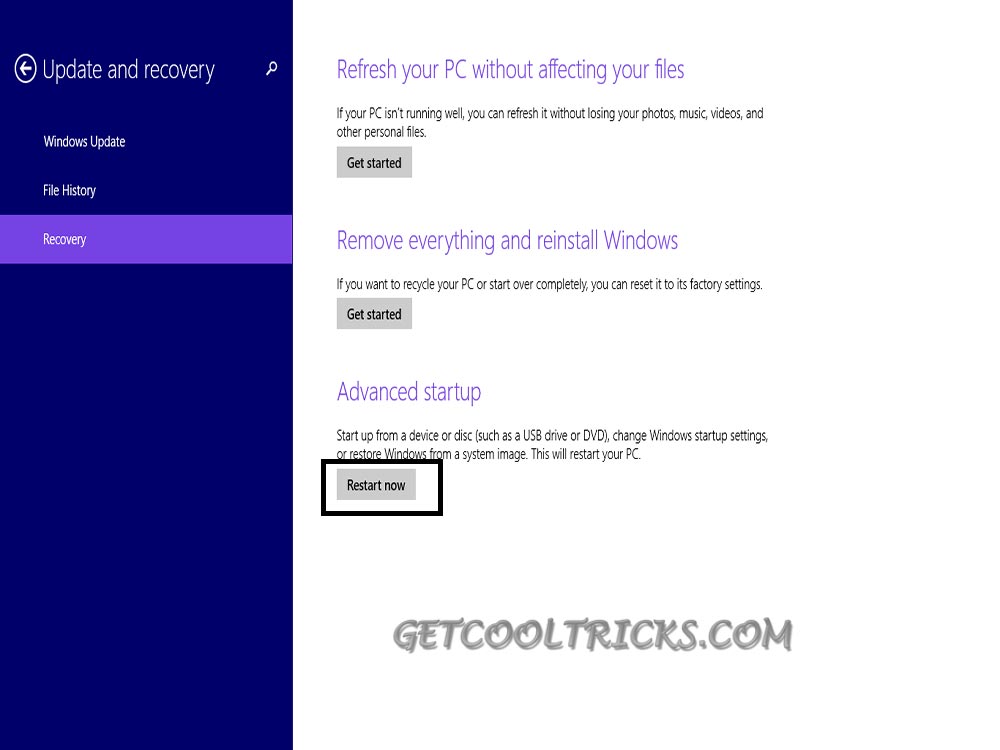
Windows 8.1: Update and Recovery – Recovery – Advanced Startup
Click Restart in the in the advanced startup menu to boot the computer into Advanced Startup mode. Check the screenshots for details. Your Computer will now show the Advanced startup options.


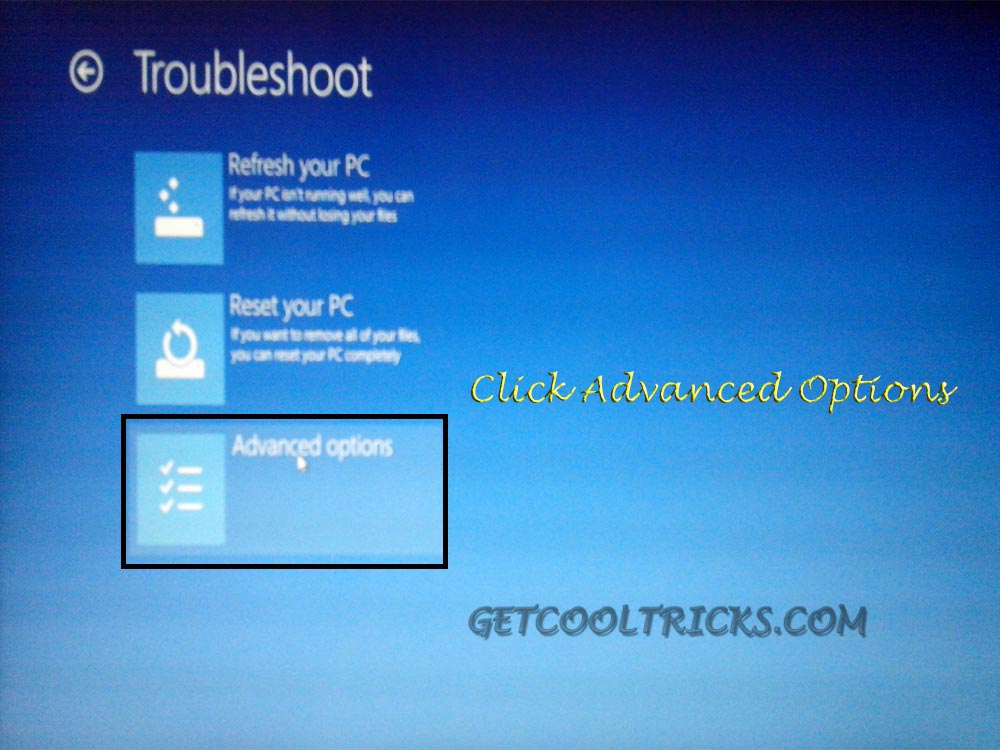
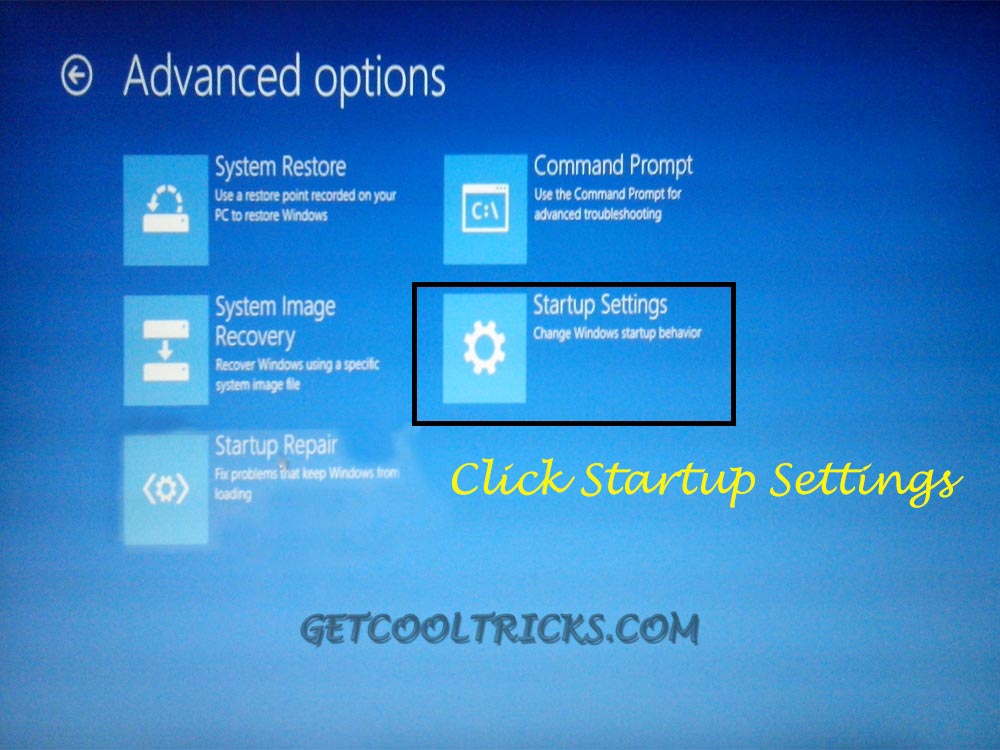
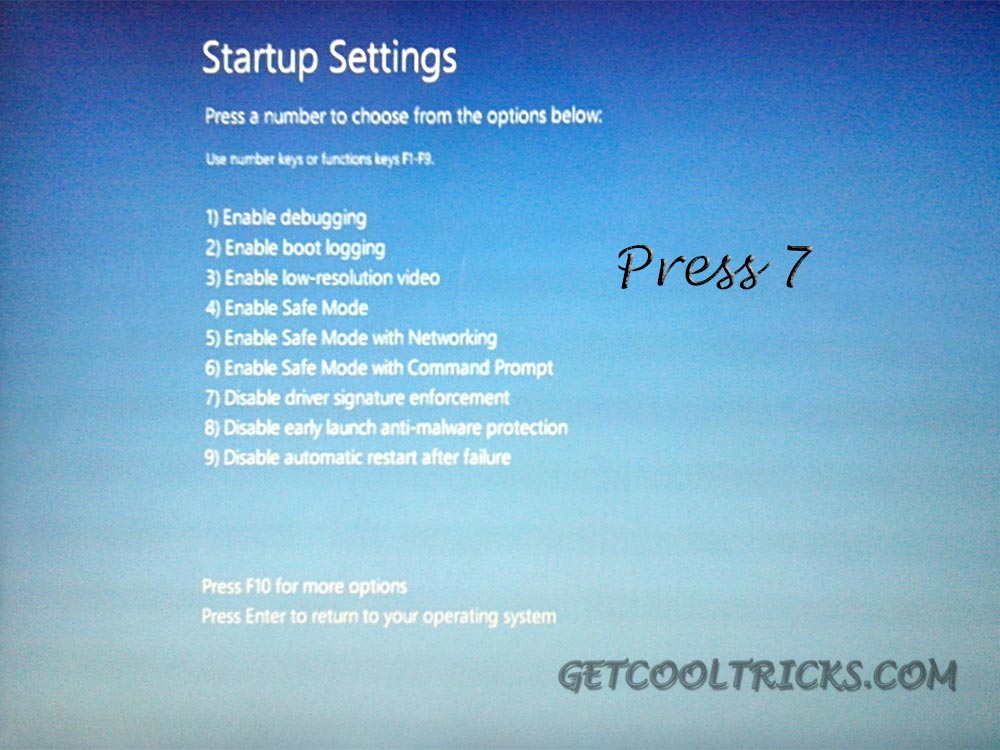
From the Advanced Startup options, select Troubleshoot. In the following window, select Advanced options. Select Startup Settings in the Advances options menu. Click Restart in the window that appears after that. Now the computer will restart and shows the Startup Settings. Press 7 to Disable Driver Signature Enforcement. Check the images for details. When the systems boots completely, install the unsigned driver. A warning message occurs. Click “install” in that warning message box to proceed with the installation.

Other People are reading
- Installing Windows 7 & 8 from a USB device
- How to Install Windows 8 & 8.1
- Enabling .Net Framework offline in Windows 8 & 8.1
- Optimizing Windows Startup