The computer uses the file name extensions to identify the file type and to assign the software program, that can open it. The simplest way to change the file name extension is by opening it with a compatible software program and save it as a different file type. Keep in mind that, changing the file name extension won’t change the file type. If you do not find a compatible software, here is the easiest way to change the file name extension in Windows 10. This guide is for Windows 10, but it is same for the older operating systems including Windows 8 and 8.1. Accessing the folder options in Windows 7, Vista and XP are different and is explained at the end of this guide.
For Windows 8, 8.1 and 10
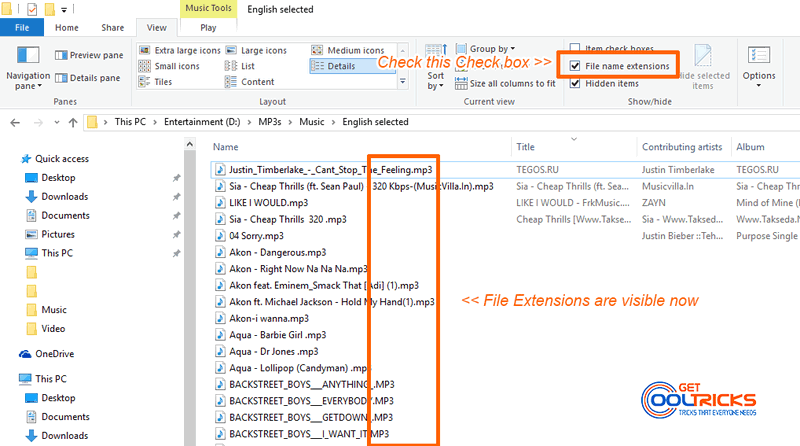
Open File Explorer and Access the View tab. On the right side, you will see some options with Check Boxes. Check the box under the option File name Extensions. Now you can able to see all the files with their extension. Now, simply rename the file and change the extensions. Check the following screenshots for more details.


For all versions of Windows
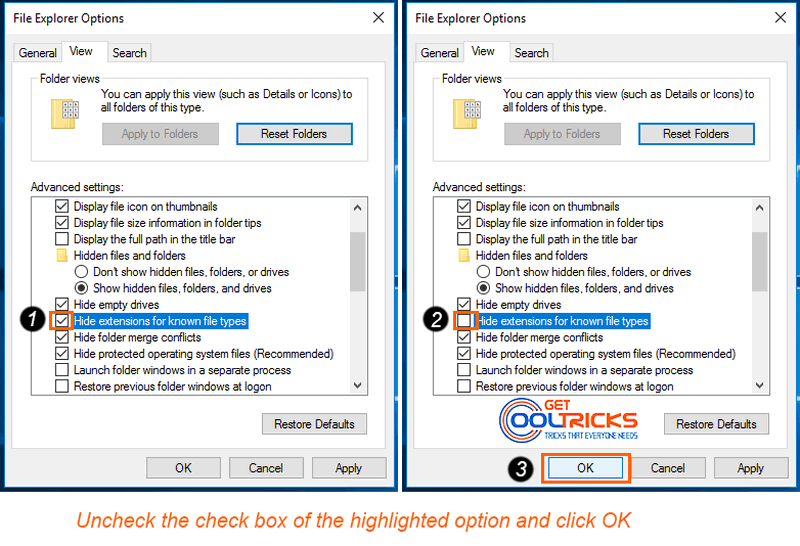
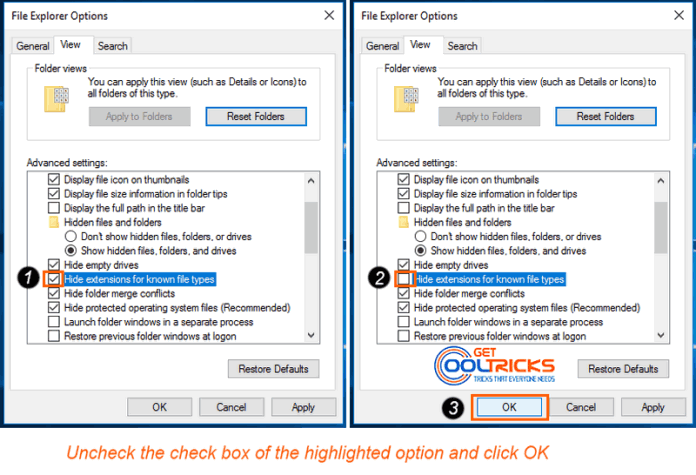
The second method to make the extensions visible is by accessing the folder options. This option is accessible directly from the Control panel (File Explorer Option / Folder Option) or by searching in the start menu. Access the folder option and navigate to the View tab. Among the several options, find the option named Hide extensions for known file types. The checkbox for this option is checked by default. Uncheck that and click OK. Now all the file name extensions are visible. Check the following screenshot for detail.

Other People are Reading
- Recover deleted data in Android Phones
- Windows 10 upgrade guide
- Recover USB devices from Folder Virus
- Installing Legacy Hardware Devices
You have now learned to change the file name extensions easily in Windows Operating System. Leave your valuable feedback and suggestions in the comment box below. Subscribe to our Newsletter for getting the future updates directly to your inbox.


